I just realized that I never gave an update on the Memory Game I made a while ago (yes, as a Christmas gift!). I originally got the idea here, and as soon as I saw it knew it would be the perfect gift for my 5-year old cousin (really my cousin's child, but 'cousin' is so much easier to say! :).
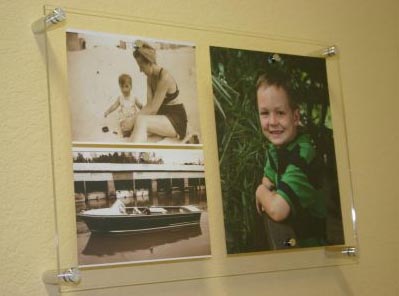
Instead of different patterns, I used pictures of his family (parents, siblings, grandparents, etc) and their pets as the matching items and some patterned scrapbooking paper as the backing.
 The key difference I made from the original idea was to use clear contact paper instead of mod podge. Actually, I used mod podge originally and it was horrible - everything ended up lumpy and kinda stuck together, plus it looked like a kindergarten project. (Ironically, I was making the gift for a kindergartener...) I am not an expert decoupager (is that even a word?!) by any means, so generally have trouble with the stuff (except for this project), so wasn't really surprised. I ended up tearing the paper squares off the wood and starting over and was so happy I did - the contact paper was smooth and shiny and even added a layer of kid-proofing for dirty hands.
I then made a drawstring bag (using this pattern again - always works well!) to house the game. To finish things off, I printed "The Memory Game" and the instructions used some iron-on printer fabric (like this- my local Joann's always has some by the Quilting section) and attached to each side of the bag.
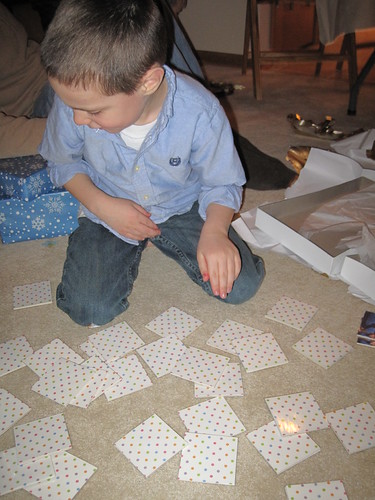 Above is the recipient enjoying his new game. Turned out pretty cute, if I do say so myself!


 Hi! I'm Nicole... I hope you’ll join me as I create, cook (not well – yet!), garden, decorate, entertain, shop, travel (sometimes just in my mind!) and just overall try to spread some joy through this tiny corner of the www.

