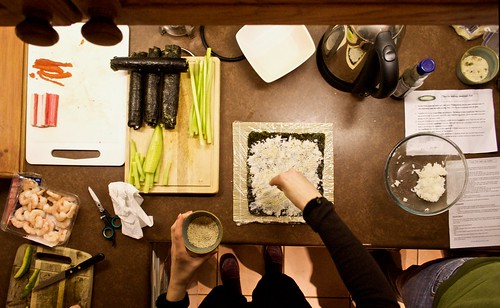
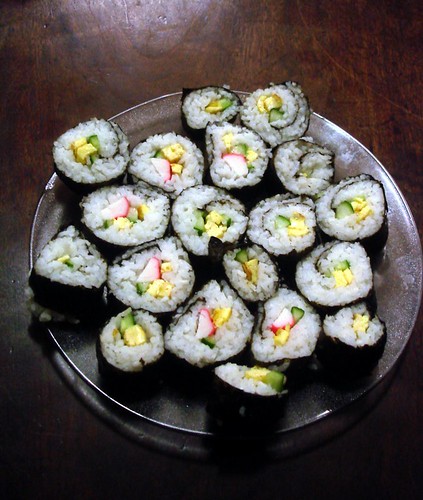
You have our friends Chris & Maura to thank for this idea... they had a Sushi Making Party for one of our Supper Club get-togethers and it was so much fun! Rolling sushi is one of those things I had heard people do at home, but I had never tried it before... but is was so much easier than I expected and was a fun hands-on party. Everyone made rolls and then we put them on a big platter in the middle of the table and were able to enjoy one another's creations - yum!
Supplies/ Ingredients:
* Sushi Rolling Mat: we only had 2 for 6 people and were fine to share... I've seen instructions online for rolling without mats (use fabric & put saran wrap over it to prevent sticking), but the mats made it feel so much more authentic and were fun to use
* Nori: seaweed sheets
* Sushi Rice: its important that you use rice labeled to be for sushi, so that it is sticky enough for the job. Traditionally, the rice is made with vinegar (here's a recipe from Better Homes & Gardens)
* Fillings for your sushi... our friends went to a local fish market and were given advice on what seafood to use. Don't forget the veggies too! I don't eat seafood, but love avocado, cucumber, asparagus and carrots in my sushi rolls.
* A bowl of water near where you'll be making the rolls
* Soy sauce and wasabi (Japanese horseradish) for dipping
* Optional: toasted sesame seeds and fish eggs (for the outside of your inside-out rolls), tempura crispies (look at a local Asian market)
Instructions:
1. Make sure your sushi mat is clean (you'll want to rinse it off between making rolls) & then place a piece of nori on it, shiny-side down
2. Put 1/2-2/3 cup of rice on the nori and spread it around very thin. You can use your hands or a flat wooden spoon, but use the bowl of water to keep your hands wet to prevent the rice from sticking. Be sure to leave about 1/2 an inch at the top empty and free of rice
4.Using the rolling mat, begin to tightly roll the sushi. Start at the side nearest to you, and roll away from you. Make sure you don’t roll the rolling mat into your sushi... as you get the mat to the point where it would be rolled into the rice, roll it backwards upon itself. See this video for an example, its much easier to see it done than explain it in words! The most important thing is that you roll the sushi tightly - keep a lot of pressure on your mat and sushi as you roll to ensure a tight roll that will be easier to cut and eat.
If you want an inside-out roll (where the rice is on the outside), just flip the nori over between steps 2 & 3. You can then put some sesame seeds on the rice after rolling.
Still want more instructions and examples? I liked these tutorials:
Still want more instructions and examples? I liked these tutorials:
* SushiDay


 Hi! I'm Nicole... I hope you’ll join me as I create, cook (not well – yet!), garden, decorate, entertain, shop, travel (sometimes just in my mind!) and just overall try to spread some joy through this tiny corner of the www.


0 comments:
Post a Comment